15 Mailbox Landscaping Ideas That Make Your Front Yard Stand Out
Curb appeal starts at the street — and nothing anchors your front yard quite like a beautifully landscaped mailbox. Whether your mailbox sits on a post at the end of your driveway or mounts flush to your home’s exterior, the space around it is prime real estate for expressing your personal style and boosting your home’s value.
From colorful flower beds and lush greenery to stone borders and climbing vines, mailbox landscaping is one of the most affordable and impactful upgrades you can make to your front yard. The best part? You don’t need a landscaper or a big budget — just a little creativity and the right plants.
1. Classic Flower Bed Surround
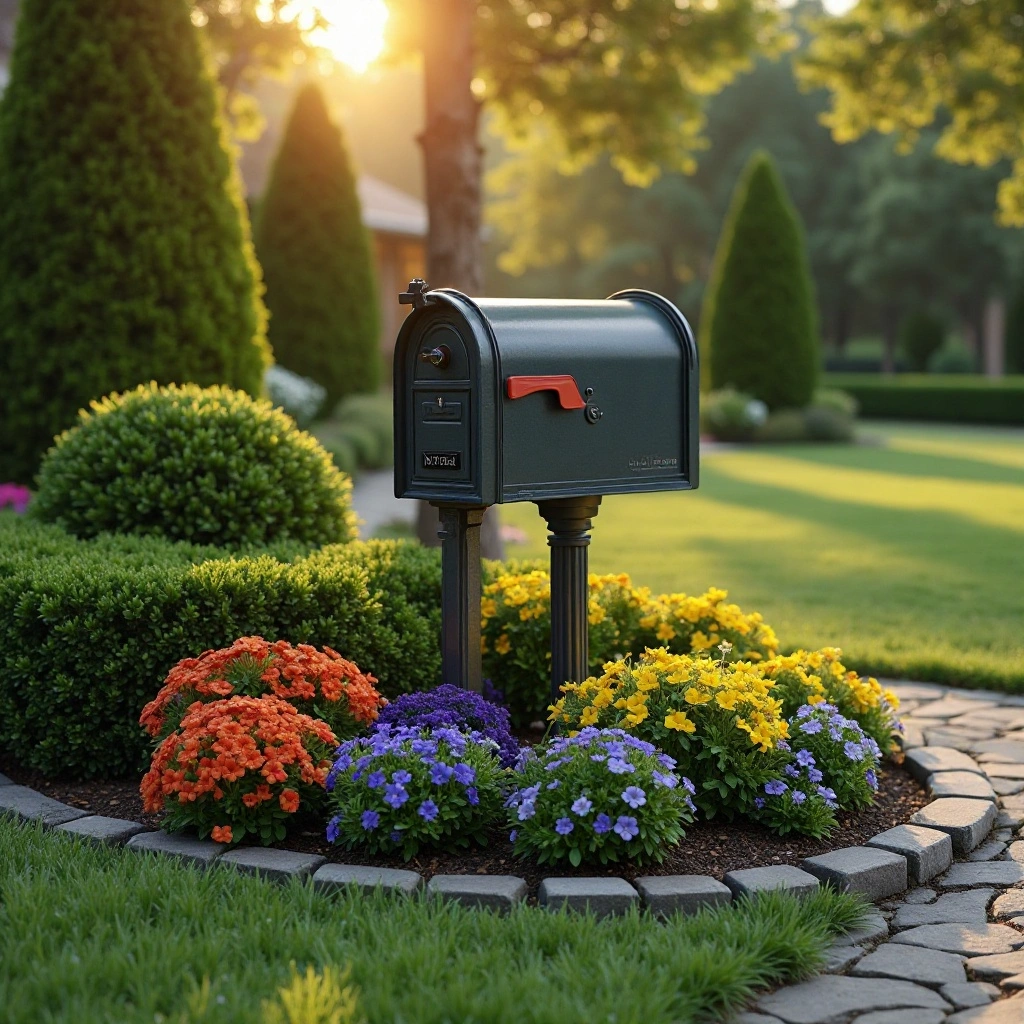
A timeless approach that never goes out of style. Plant a mix of annuals and perennials in a rounded or rectangular bed around your mailbox post. Use a low border of marigolds or impatiens up front, with taller zinnias or black-eyed Susans behind. Edge the bed cleanly with a metal or plastic border and top with dark mulch for contrast. Shop on Amazon
How to Style It:
- Choose a color palette that matches your home’s exterior (warm tones for brick, cool tones for gray or blue homes)
- Layer plants by height: short edging flowers → medium bloomers → tall grasses or sunflowers
- Keep the bed shape symmetrical for a formal look, or go free-form for a cottage vibe
Where to Use It: Any residential mailbox post, especially in suburban neighborhoods with traditional home styles.
Pro Tip: Plant a mix of spring and summer bloomers so the bed stays colorful for 6+ months. Deadhead spent flowers regularly to encourage continuous blooming.
2. Climbing Vine on a Wooden Post
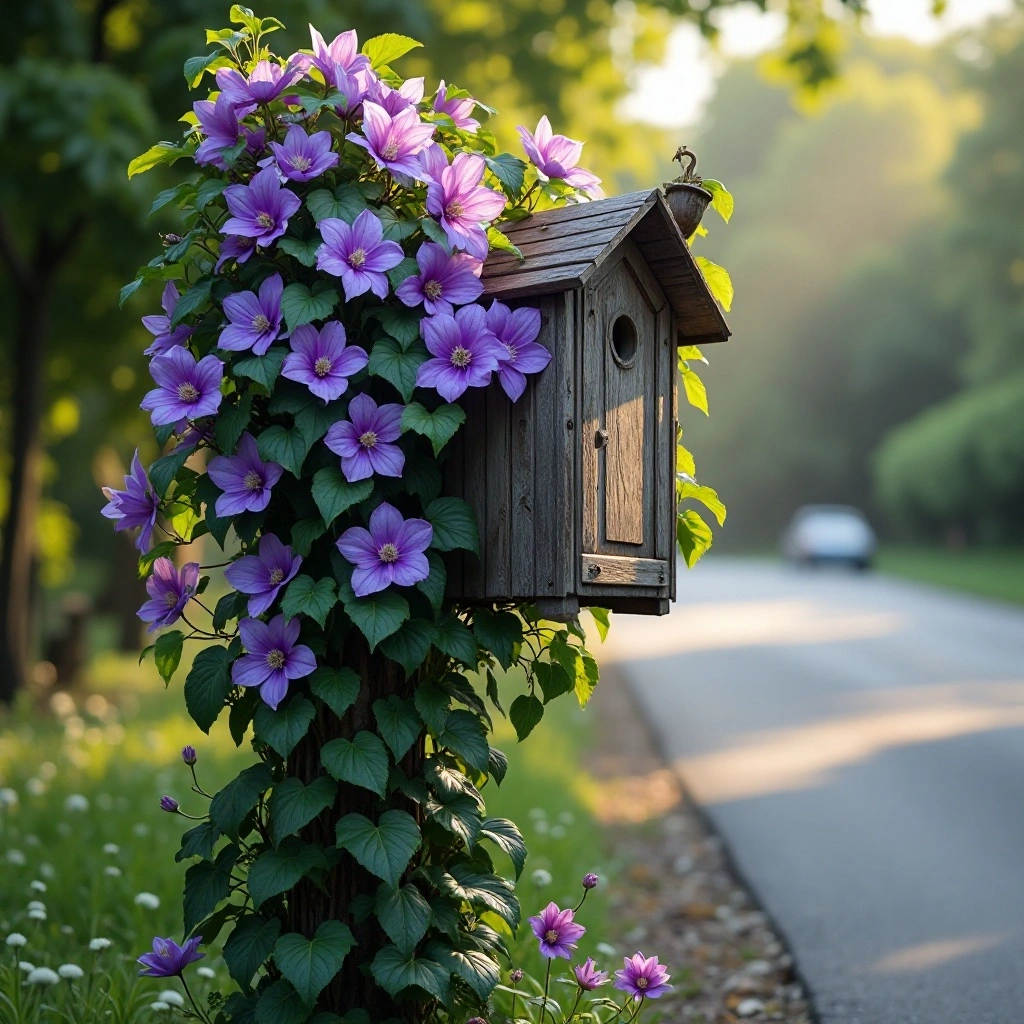
Turn your plain mailbox post into a living sculpture. Train a climbing vine like clematis, morning glory, or sweet potato vine to grow up the post, softening hard edges and adding vertical interest. This idea works best with a sturdy wooden or metal post and requires a simple wire or trellis guide to help the vine find its path. Shop on Amazon
How to Style It:
- Use one dominant vine and complement with a simple ground-level planting (lavender, creeping thyme)
- Add a simple wire guide stapled to the post to direct growth
- Choose vine colors that contrast with your mailbox — white vines on dark mailboxes look stunning
Where to Use It: Best for wooden post mailboxes in cottage, farmhouse, or rustic-style homes.
Pro Tip: Morning glory is fast-growing and stunning but reseeds aggressively. Plant it in a buried container to control spread, or opt for clematis for a more polished and controlled result.
3. River Rock and Ornamental Grass Border
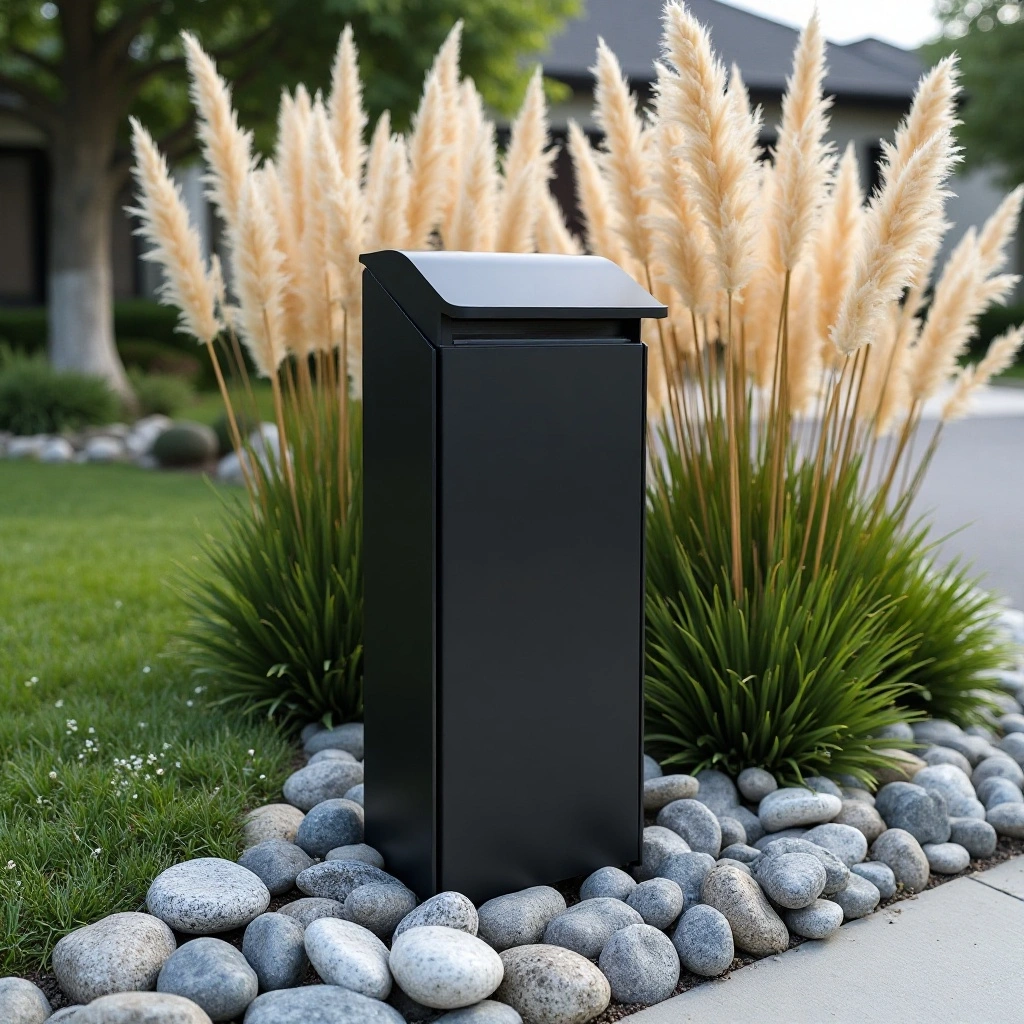
For a low-maintenance, modern look, pair smooth river rocks with clumping ornamental grasses like Karl Foerster feather reed grass or blue fescue. The rocks act as a weed-suppressing mulch alternative while the grasses sway beautifully in the breeze. This combination looks sharp year-round and requires almost no watering once established. Shop on Amazon
How to Style It:
- Use a single variety of ornamental grass for a clean, unified look
- Mix two sizes of river rock (larger border stones + smaller fill stones) for depth
- Add one or two dark-foliaged plants like purple fountain grass for contrast
Where to Use It: Modern, contemporary, or drought-prone yards. Excellent for xeriscaping.
Pro Tip: Lay landscape fabric underneath the rocks before placing them — this stops weeds from pushing through while maintaining drainage.
4. Boxwood Hedge Frame
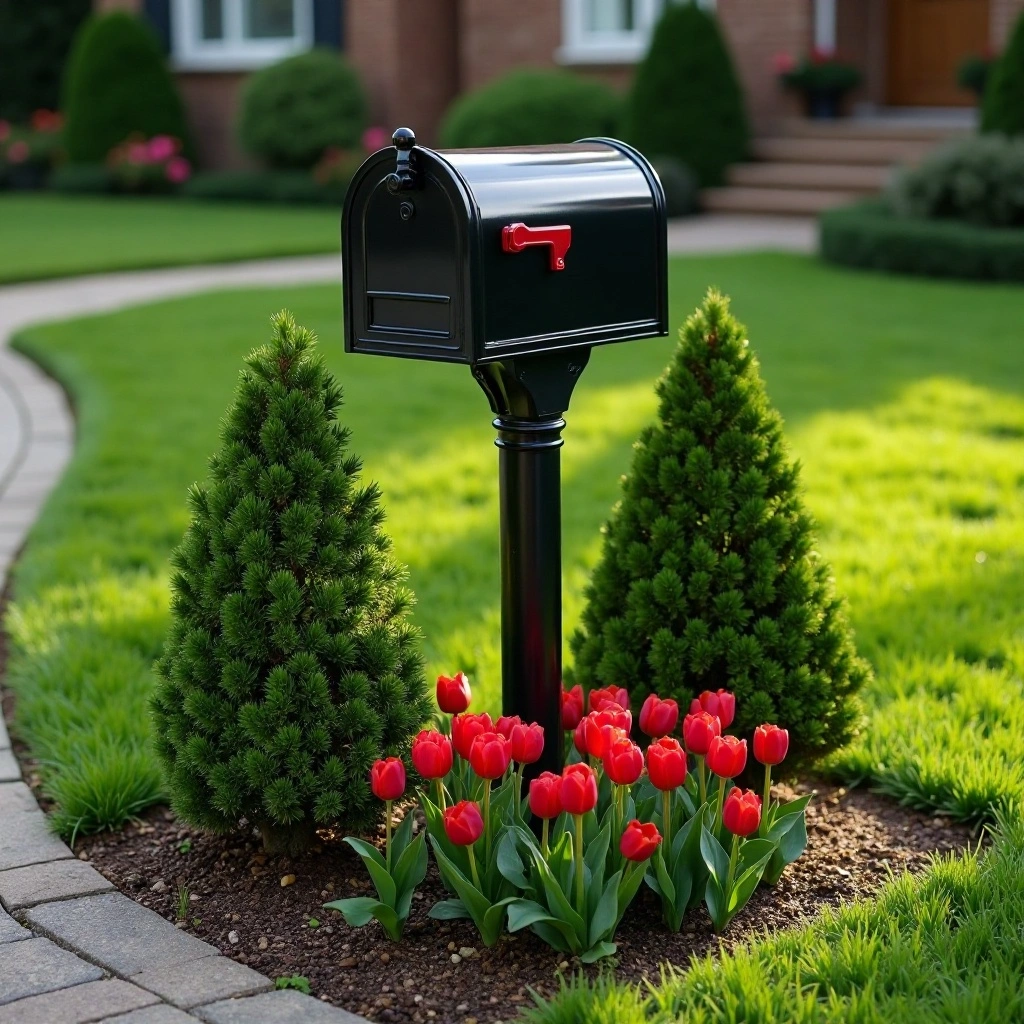
Channel formal English garden elegance by flanking your mailbox with perfectly trimmed dwarf boxwood shrubs. Their dense, evergreen foliage creates a structured, year-round framework that looks polished in every season.
Pair with seasonal color pops — tulips in spring, mums in fall — planted in front for a look that evolves beautifully all year long. Shop on Amazon
How to Style It:
- Plant two matching boxwoods symmetrically on either side of the post
- Trim them into neat globes, cubes, or cones for a formal effect
- Underplant with seasonal bulbs that cycle through tulips → alliums → sedums
Where to Use It: Traditional, colonial, or formal-style homes. Works beautifully with brick or stone exteriors.
Pro Tip: Choose “Winter Gem” or “Green Mountain” boxwood varieties — they hold their color better in cold climates and resist browning in harsh winters.
5. Raised Stone Planting Bed
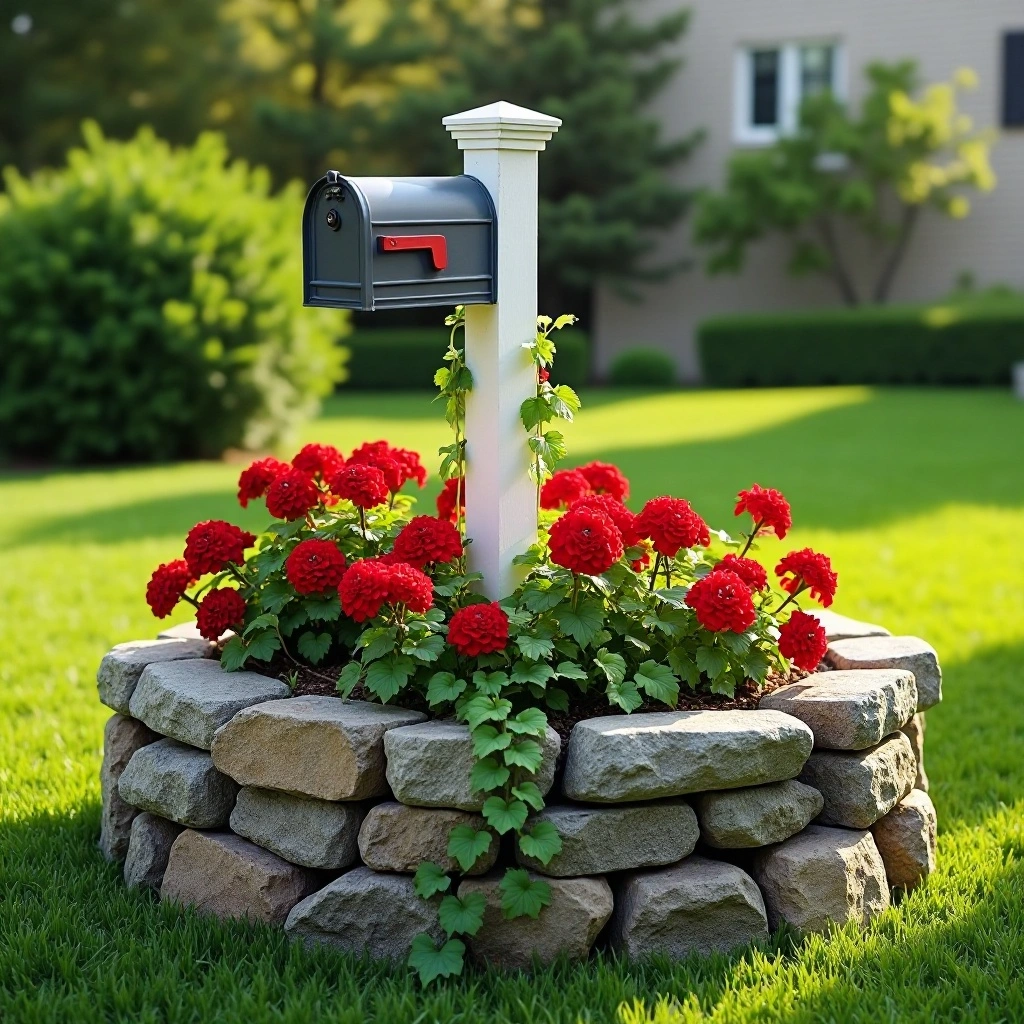
Elevate your mailbox landscaping — literally. Build a small raised stone or brick planting bed around the post using stacked natural stone, pavers, or decorative block. Fill it with your favorite flowers or herbs. The raised structure creates definition, prevents lawn mowing damage to plants, and gives the whole setup a professional, intentional look. Shop on Amazon
How to Style It:
- Keep the bed height between 8–14 inches for visual proportion
- Use trailing plants like sweet alyssum or ivy to spill over the stone edges softly
- Choose stone colors that complement your home’s foundation or walkway
Where to Use It: Ideal for sloped yards where flat beds erode, or anywhere you want a more architectural mailbox feature.
Pro Tip: Install a small piece of landscape fabric between the stone and soil to prevent soil from washing out between gaps in the stones during heavy rain.
6. Lavender and Sage Herb Garden
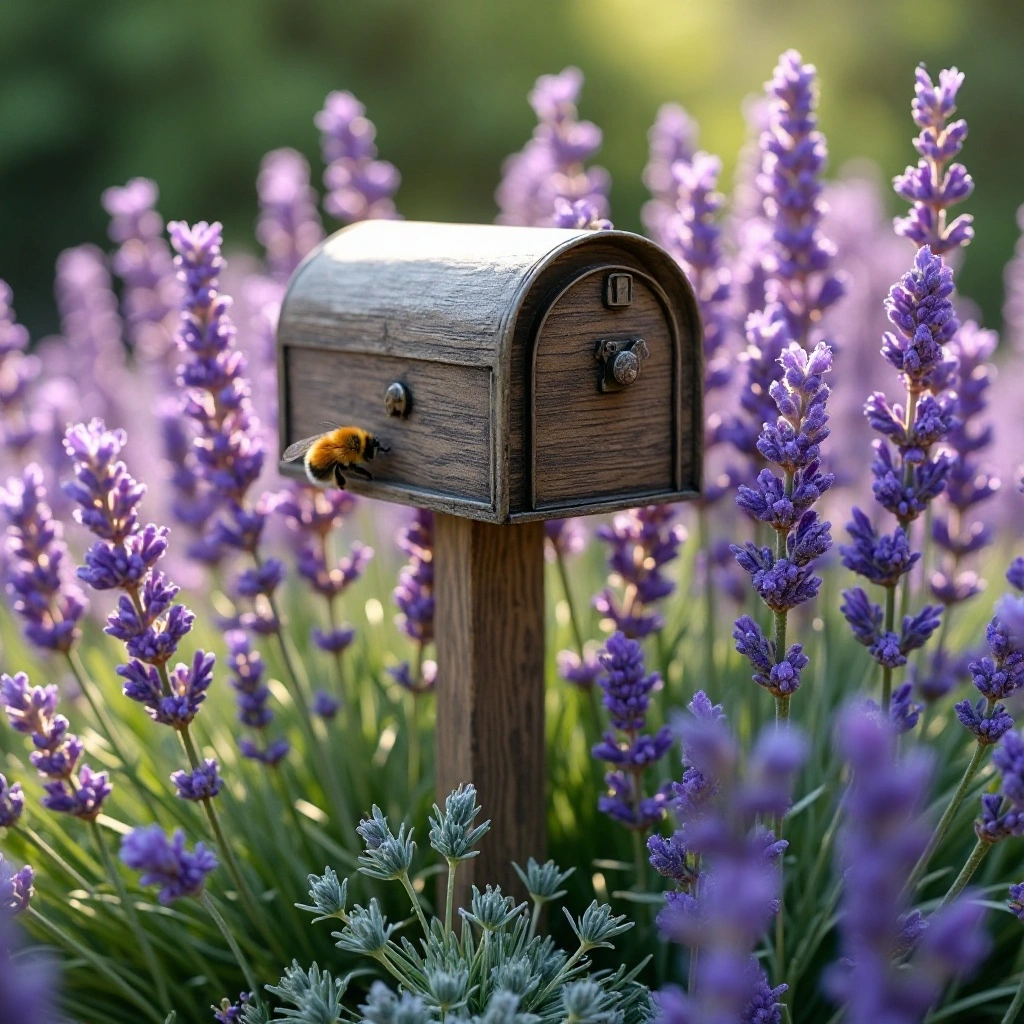
Who says mailbox landscaping can’t be functional? Plant a fragrant herb garden around your mailbox featuring lavender, sage, rosemary, and thyme. These Mediterranean herbs are incredibly low-maintenance, drought-tolerant, and deer-resistant.
They’ll fill the air with fragrance every time someone opens your mailbox, and you can clip a few sprigs for cooking anytime. Shop on Amazon
How to Style It:
- Group lavender as the centerpiece with sage and rosemary flanking it
- Use creeping thyme as a low ground cover that spills over any stone edging
- Add decorative labels or small stones with herb names for a whimsical touch
Where to Use It: Cottages, Mediterranean-style homes, or any sun-drenched mailbox spot with well-draining soil.
Pro Tip: Herbs need excellent drainage — if your soil is clay-heavy, mix in coarse sand or plant in a slightly raised mound to prevent root rot.
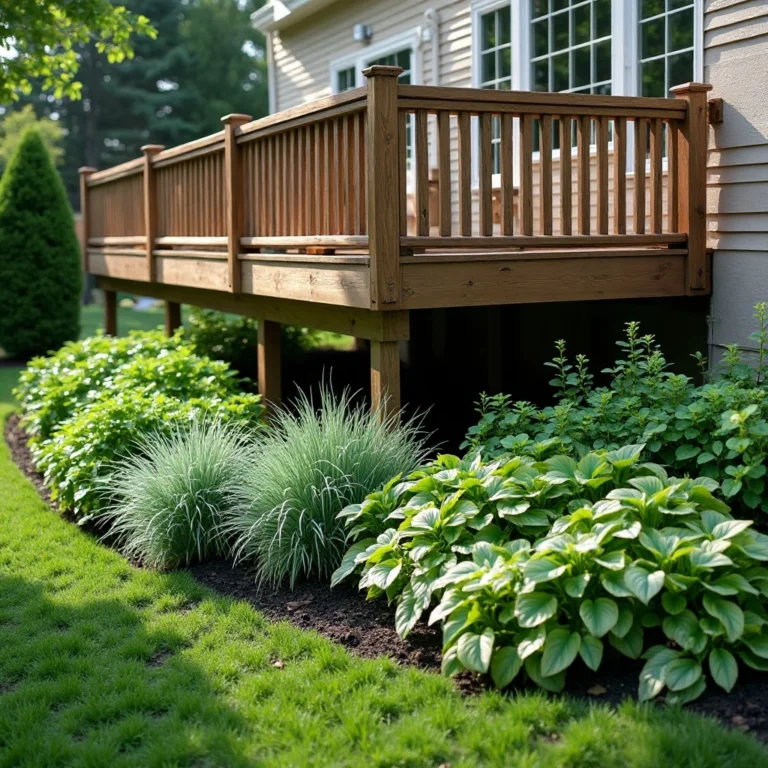
7. Shade Garden with Hostas and Ferns
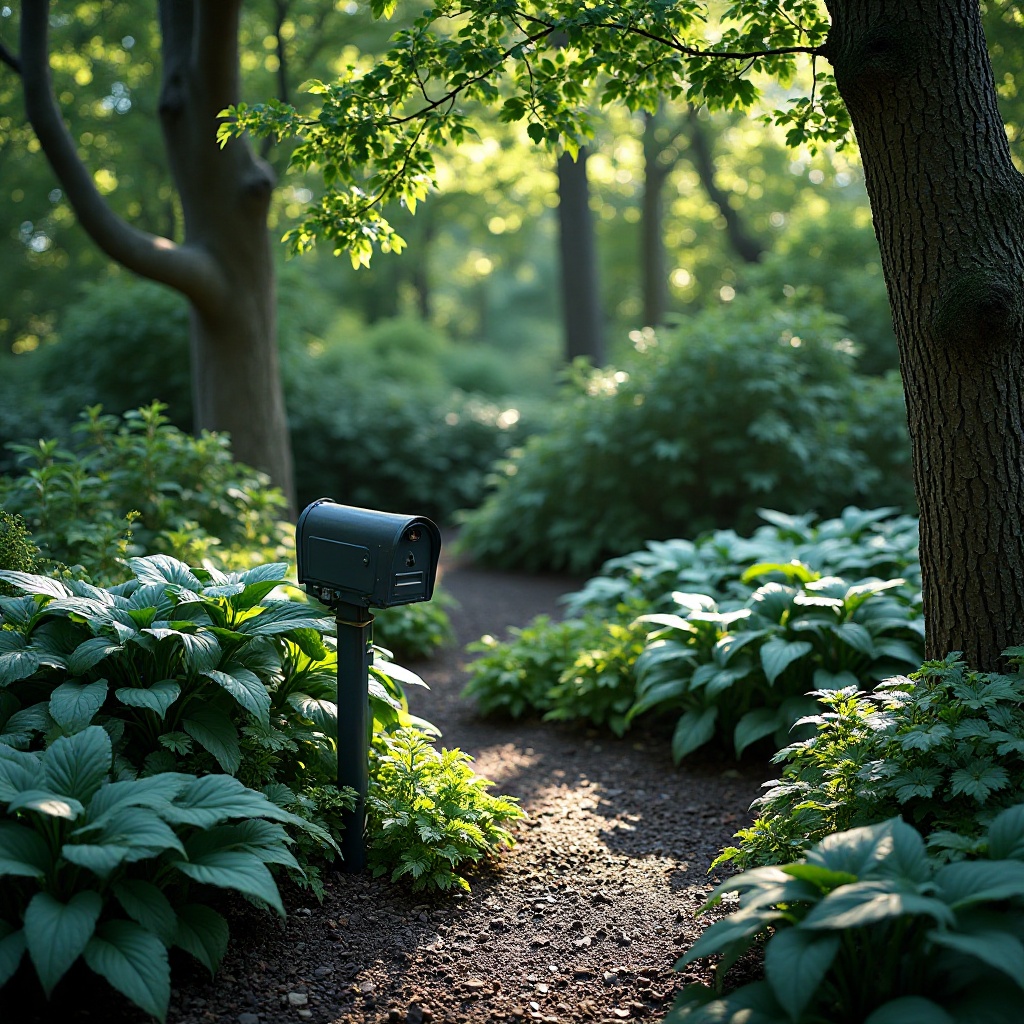
If your mailbox sits under a tree or on the north side of your property, embrace the shade instead of fighting it. Hostas and ferns thrive in low-light conditions and create a lush, layered look in greens, blues, and golds.
Add a few white impatiens for brightness and you have a stunning shade garden that looks expensive with minimal effort. Shop on Amazon
How to Style It:
- Mix hosta varieties with different leaf sizes and colors (blue-green large, gold-edged small)
- Let fern fronds arch naturally — don’t force a rigid structure
- Use white or pale pink flowers to brighten the space without needing direct sun
Where to Use It: Shaded front yards, tree-lined driveways, north-facing mailbox locations.
Pro Tip: Hostas are slug magnets. Sprinkle diatomaceous earth around the base of plants in spring and after each rain to keep slugs from shredding the leaves.
8. Cottage Garden Wild Mix
Embrace the beautiful chaos of a cottage-style garden where plants grow in an intentionally unstructured, abundant way. Mix cosmos, echinacea, foxglove, salvia, and catmint in a loose, overflowing bed that looks like it just happened naturally.
This style is forgiving, pollinator-friendly, and absolutely magical in full summer bloom. Shop on Amazon
How to Style It:
- Don’t overthink spacing — plant densely and let plants find their own balance
- Include at least one statement tall plant (foxglove, hollyhock) behind the mailbox
- Allow a few self-seeders like cosmos to fill gaps naturally each season
Where to Use It: Any sunny spot, especially for farmhouse, bohemian, or English-style homes.
Pro Tip: Leave seed heads standing through winter — they feed birds and self-sow for next year’s garden, making this a nearly self-sustaining landscape.
9. Modern Minimalist Gravel and Yucca
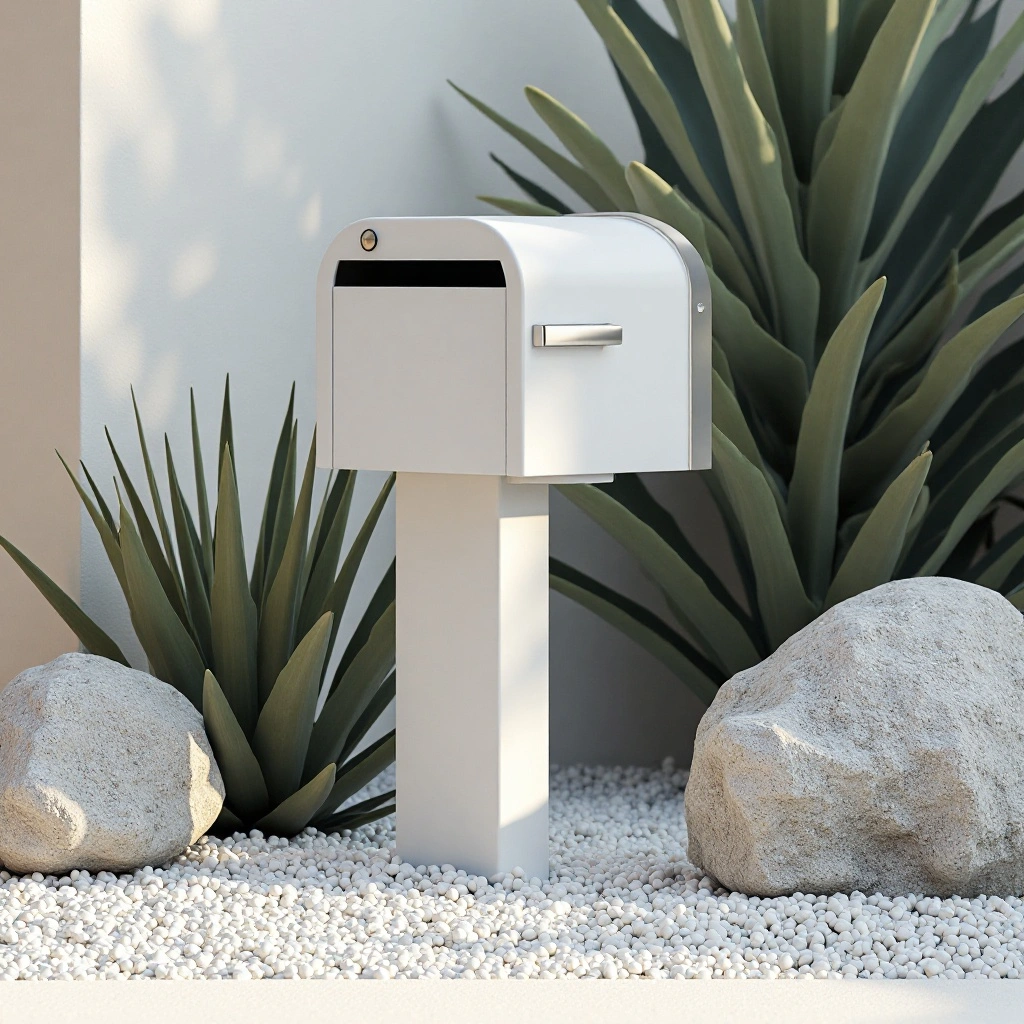
For homeowners who love clean lines and modern architecture, this sleek combination of white or tan gravel with a single bold yucca plant creates maximum impact with minimum fuss.
Add one or two smooth boulders for sculptural interest. The result is sharp, architectural, and virtually maintenance-free — no watering, no weeding, no mowing around it. Shop on Amazon
How to Style It:
- Use one dominant plant species — more than two looks cluttered with this style
- Choose a mailbox with a matte black or brushed metal finish to complement the modern vibe
- Add solar stake lights to create dramatic nighttime shadows
Where to Use It: Modern, contemporary, or desert-style homes. Perfect for Southwest climates.
Pro Tip: Use decomposed granite instead of pea gravel — it compacts slightly and resists washing away during heavy rain far better than round loose gravel.
10. Seasonal Container Garden
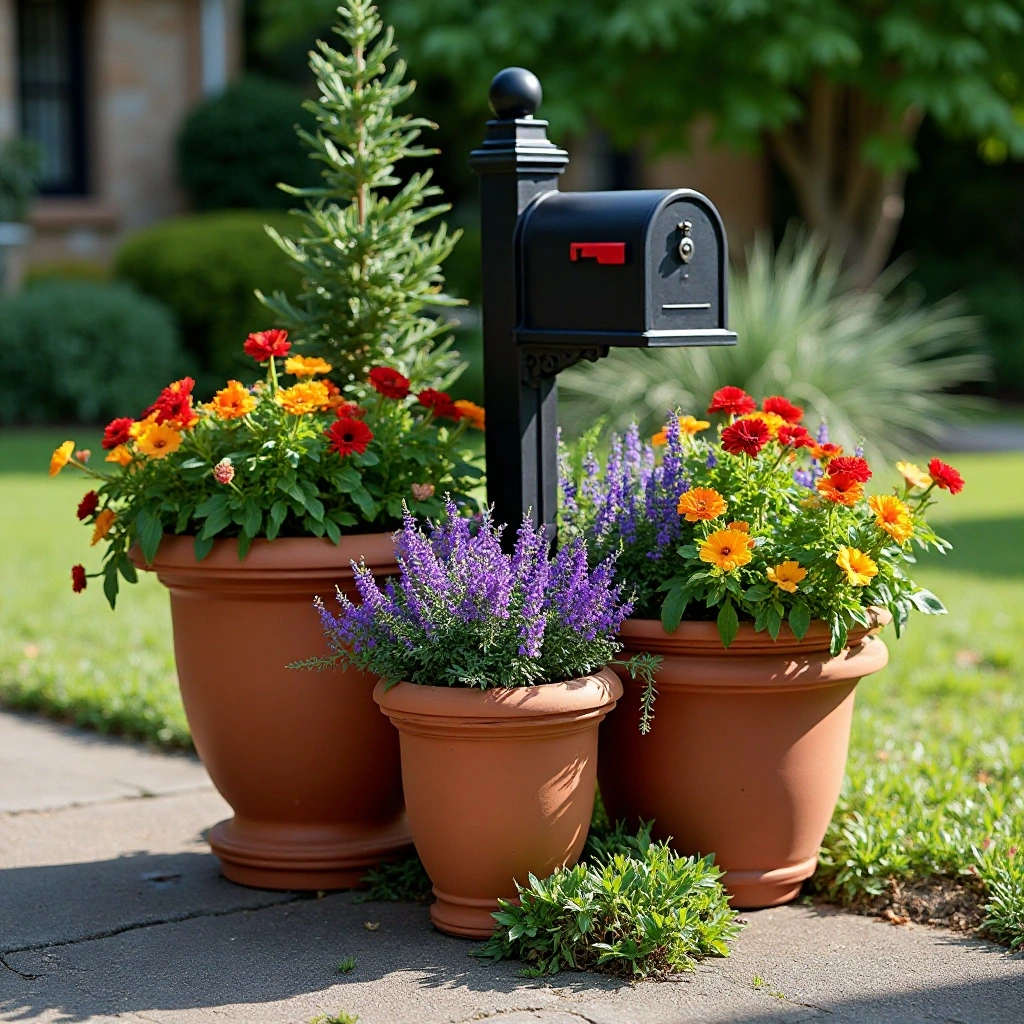
If your mailbox sits on a hard surface like a concrete driveway apron, or if you rent and can’t permanently plant, use large decorative containers instead. Cluster two or three pots of varying heights around the post and change out the plantings with each season: tulips in spring, petunias in summer, mums in fall, evergreen boughs in winter. Always fresh, always impressive. Shop on Amazon
How to Style It:
- Use the “thriller, filler, spiller” formula: one tall dramatic plant, one mounding filler, one trailing plant
- Choose containers that match — terra cotta, glazed blue, or matte black all work beautifully
- Group odd numbers of pots (3 or 5) for a more natural, balanced look
Where to Use It: Rental properties, concrete or paved surfaces, or homeowners who love to redecorate seasonally.
Pro Tip: Self-watering containers are a game-changer — they have a built-in reservoir that reduces watering frequency to once a week even in summer heat.
11. Butterfly and Pollinator Garden
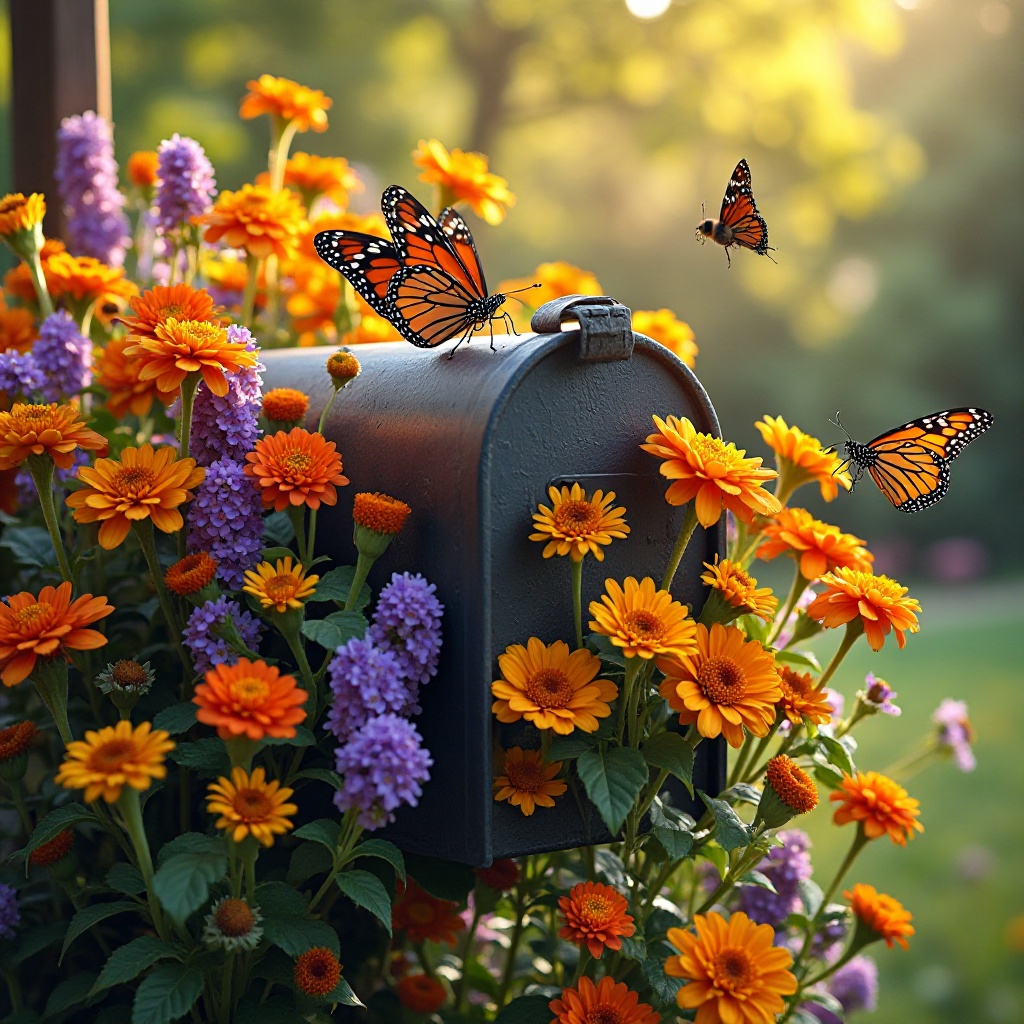
Transform your mailbox into a pollinator pit stop by planting a curated mix of butterfly-attracting flowers. Milkweed, coneflower, lantana, and black-eyed Susan are all irresistible to monarchs, swallowtails, and honeybees.
Add a small decorative butterfly house stake for extra charm. This is landscaping that gives back to the ecosystem while looking absolutely gorgeous. Shop on Amazon
How to Style It:
- Plant in drifts (groups of 3–5 of the same plant) rather than alternating single plants
- Include plants that bloom at different times to attract pollinators across spring, summer, and fall
- Add a small “puddling” stone with a shallow water-filled depression for butterflies to drink
Where to Use It: Any sunny mailbox location, especially in neighborhoods near natural areas or gardens.
Pro Tip: Avoid using pesticides anywhere near your pollinator bed — even “safe” sprays can harm butterflies and bees. Hand-pick pests instead, or use insecticidal soap sparingly on non-flowering days.
12. Brick Paver Base with Knockout Roses
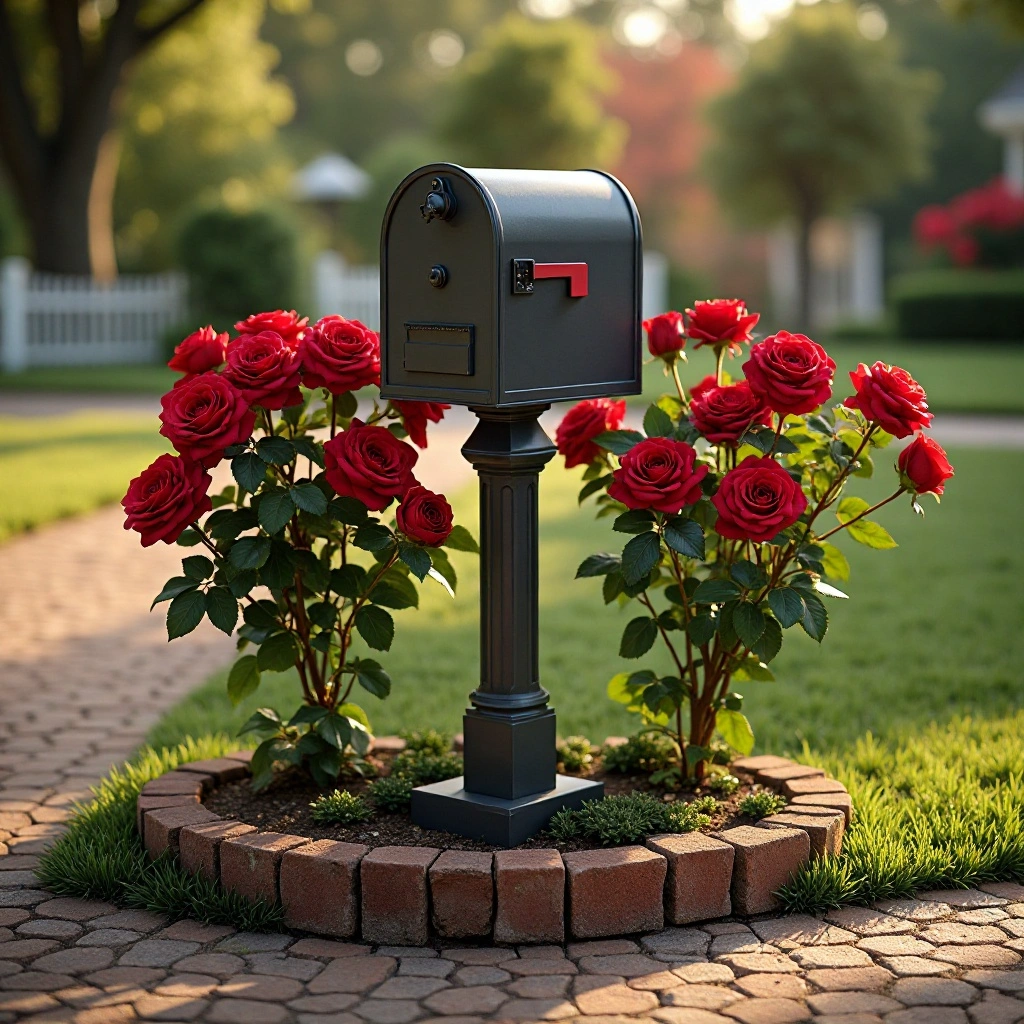
Create a sophisticated, structured mailbox feature by laying a small brick or paver pad at the base of your post, then planting repeat-blooming Knockout roses on each side.
Knockout roses are virtually disease-resistant, bloom from spring to frost, and require almost no deadheading. The brick base keeps the area neat, prevents grass from creeping in, and gives the whole setup a high-end look. Shop on Amazon
How to Style It:
- Use a herringbone or basket-weave brick pattern for visual interest at the base
- Plant one rose on each side of the post for symmetry
- Edge the paver pad with steel landscape edging for a clean, permanent finish
Where to Use It: Traditional suburban homes, especially those with brick driveways, walkways, or home exteriors.
Pro Tip: Give roses a slow-release rose fertilizer in early spring and again in midsummer for the most prolific bloom cycle. Sprinkle around the drip line, not against the stem.
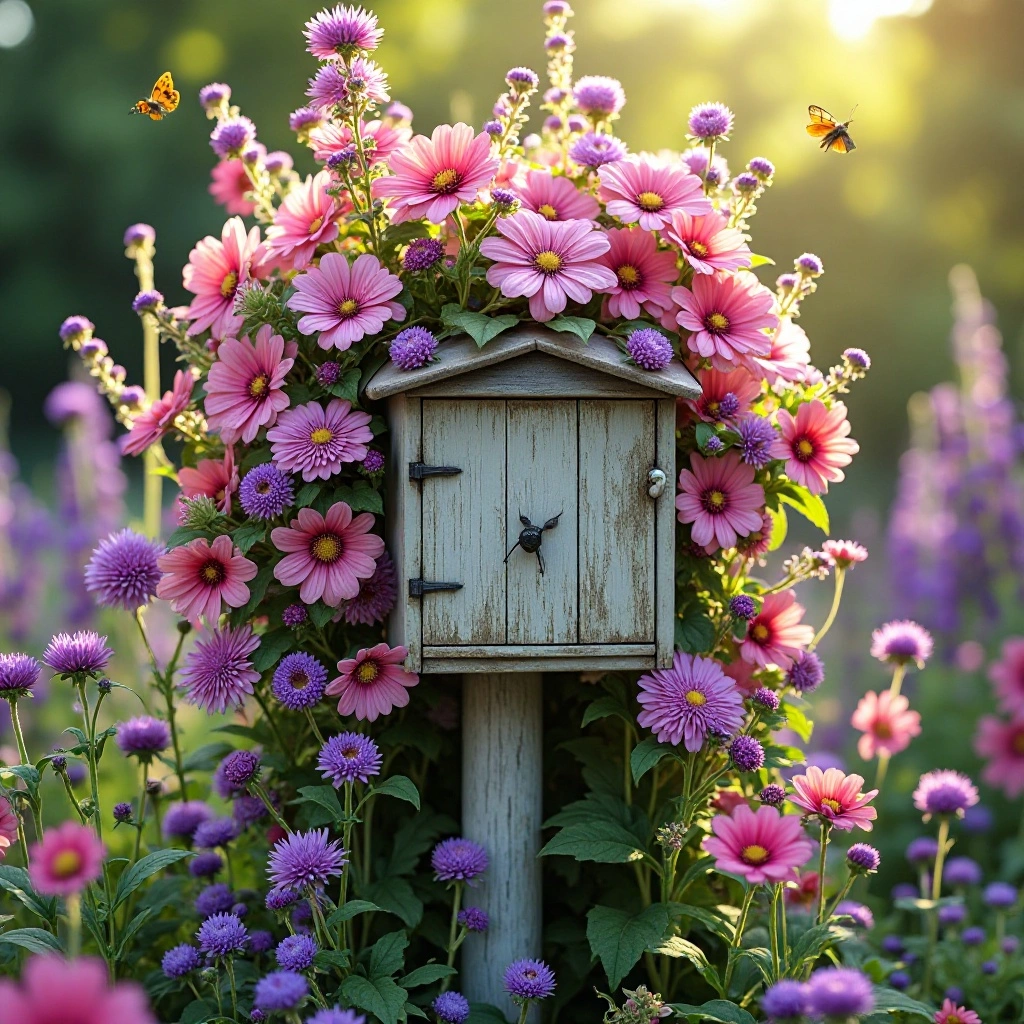
13. Rustic Wood Planter Box
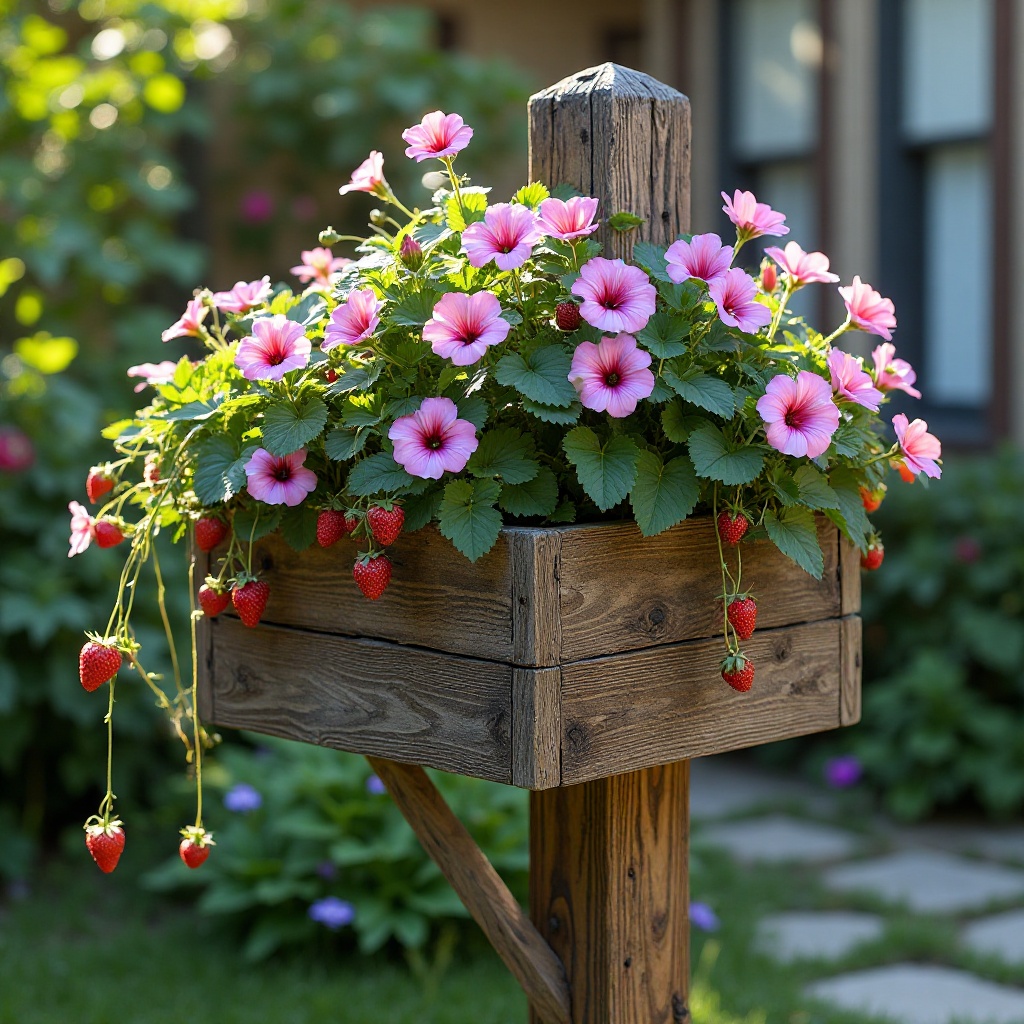
Build or buy a rustic cedar or reclaimed wood planter box that wraps around the base of the mailbox post. Fill it with trailing petunias, strawberries, or a mix of colorful annuals.
The natural wood texture adds warmth and a handmade quality that looks charming without trying too hard. Cedar is naturally rot-resistant and will weather beautifully to a silver-gray over time. Shop on Amazon
How to Style It:
- Paint or stain the box to match your mailbox color or front door
- Line the inside with landscape fabric before filling with potting mix to extend the wood’s life
- Plant a mix of trailers and upright flowers so the box looks full from multiple angles
Where to Use It: Farmhouse, country, or rustic-style homes. A great DIY weekend project.
Pro Tip: Drill several 1/2-inch drainage holes in the bottom of the planter box — without them, roots will rot within one season no matter how carefully you water.
14. Succulent Rock Garden
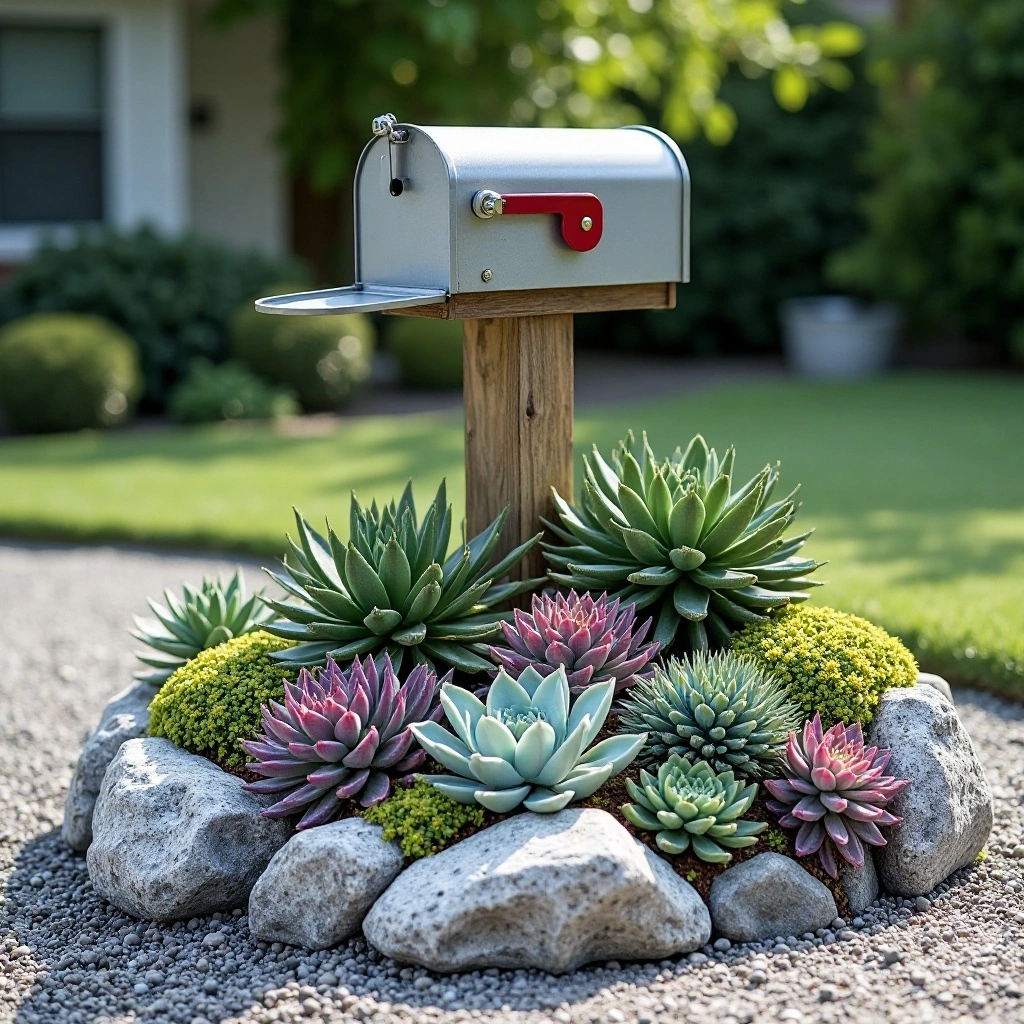
Create a water-wise, year-round display by planting an assortment of hardy succulents among decorative rocks around the mailbox base. Hens and chicks, sedums, and ice plants are cold-hardy in most zones and create stunning texture with minimal effort.
Once established, these plants survive on rainfall alone in most climates and look as good in December as they do in July. Shop on Amazon
How to Style It:
- Vary succulent heights, colors, and textures — blue-gray, burgundy, and bright green together looks stunning
- Use flat decorative stones as stepping pads so you can reach the mailbox without disturbing plants
- Add a top-dressing of crushed granite for a polished, desert-garden finish
Where to Use It: Drought-prone regions, water-restricted areas, or anyone who travels frequently and can’t water regularly.
Pro Tip: The #1 killer of succulents is overwatering and poor drainage. Mix 50% native soil with 50% perlite or coarse sand before planting for foolproof drainage.
15. Four-Season Garden with Evergreens and Perennials
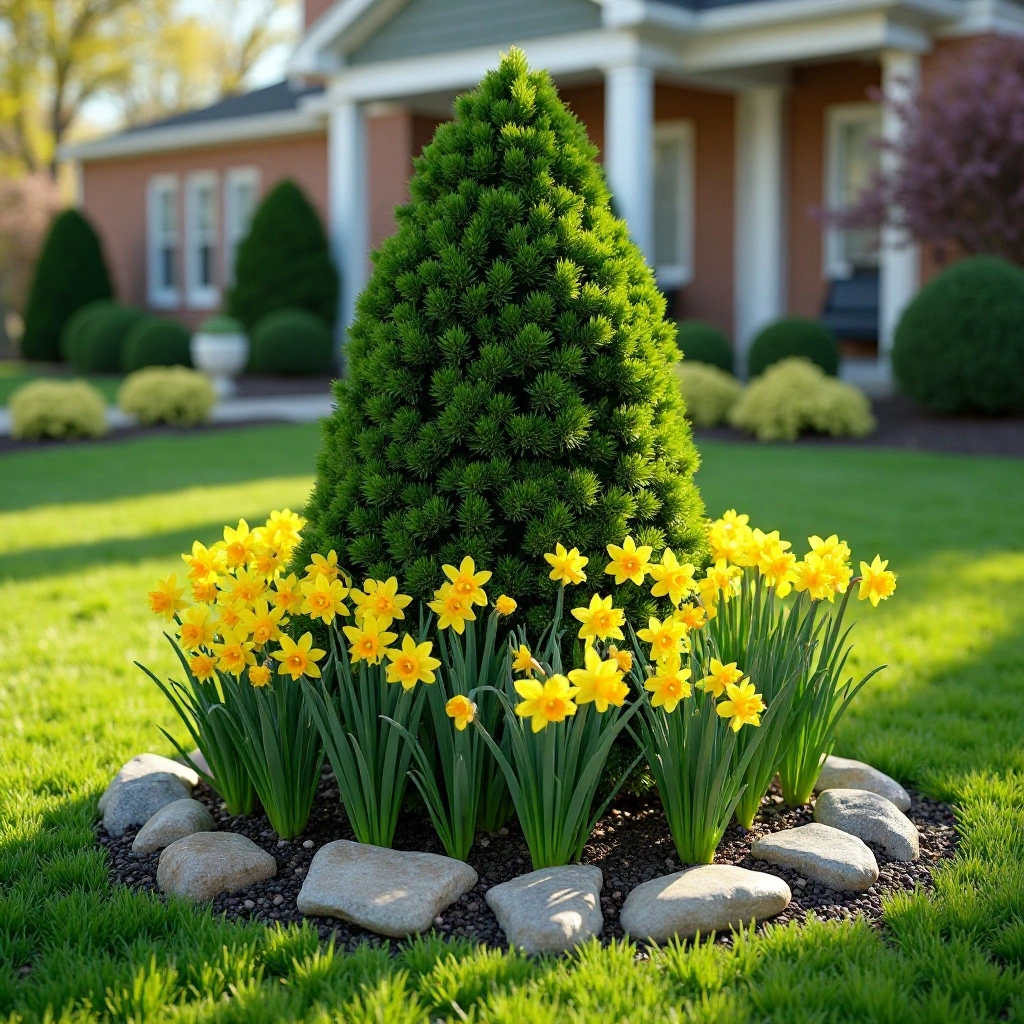
Design a mailbox landscape that looks intentional and beautiful in every single month of the year. Anchor the design with one or two dwarf evergreens — like ‘Skybound’ arborvitae or ‘Little Giant’ globe cedar — for year-round structure.
Then layer in perennials that bloom in sequence: daffodils in spring, daylilies in summer, asters in fall, and ornamental kale in winter. Change nothing — nature does the work for you. Shop on Amazon
How to Style It:
- Use 1–2 evergreens as permanent “bones” that define the space in every season
- Choose perennials that bloom in succession — spring bulbs → summer perennials → fall asters
- Mulch heavily each fall to insulate roots and make the bed look tidy through winter
Where to Use It: Any climate, any home style. The gold-standard approach for homeowners who want low maintenance and high impact all year long.
Pro Tip: Before planting, sketch your bed on paper and note the bloom time and height of every plant. Gaps in your bloom calendar are easy to fix at planning stage — nearly impossible to fix after planting.
Common Mistakes to Avoid
1. Planting Too Close to the Post Roots and aggressive plants can destabilize a mailbox post over time. Leave at least 6–8 inches of clear space between your plants and the base of the post.
2. Ignoring USPS Clearance Requirements The USPS requires mail carriers to be able to reach your mailbox from their vehicle. Keep all plantings below 45 inches in height and avoid anything that blocks the door or approach path.
3. Choosing Plants for Looks Alone A stunning plant in the wrong spot will look awful within weeks. Always match plants to your actual conditions: sunlight hours, soil type, and USDA hardiness zone.
4. Forgetting About Scale A tiny ring of flowers around a large post looks lost. A huge planting bed around a small post looks overwhelming. Aim for a bed roughly 2–3 feet in diameter per foot of post height.
5. Skipping the Edging Without a defined edge, your mailbox bed will blend into the lawn and look unkempt within one season. Always install physical edging — metal, stone, or plastic — before planting.
6. Over-Mulching Piling mulch directly against plant stems causes rot and invites pests. Keep mulch 2–3 inches deep and pulled back 2 inches from all stems.
7. Planting Only Annuals All-annual beds require replanting every single year. Mix in perennials and evergreens to reduce annual replanting effort and cost.
Frequently Asked Questions
Q: How do I prevent weeds in my mailbox garden? Lay landscape fabric before planting, then cover with 2–3 inches of mulch. Refresh mulch each spring and hand-pull any weeds that break through immediately before they go to seed.
Q: What’s the easiest mailbox landscaping for beginners? The succulent rock garden (Idea #14) or the ornamental grass and river rock combo (Idea #3). Both are nearly self-sustaining once established and forgive irregular watering.
Q: How large should a mailbox planting bed be? A good rule of thumb is 3–4 feet in diameter for a standard post mailbox. You can go larger for a dramatic statement, but keep it in proportion to the post and the street view.
Q: Can I landscape a mailbox that’s mounted to my house? Yes! Use wall-mounted planters, a window box below, or flank the mailbox with potted topiaries. Climbing vines trained on nearby trellises also work beautifully.
Q: What plants are deer-resistant for mailbox landscaping? Lavender, sage, rosemary, ornamental grasses, boxwood, yucca, catmint, and Russian sage are all reliably deer-resistant. Avoid hostas, tulips, and daylilies if deer pressure is high in your area.
Q: Do I need a permit to build a raised planter bed at my mailbox? In most cases, no. However, always check with your local HOA and confirm USPS clearance requirements before building anything more than 6 inches above grade near the road.
Q: When is the best time to plant a mailbox garden? Early spring (after last frost) or early fall (6 weeks before first frost). These seasons allow plants to establish roots before facing summer heat or winter cold stress.
Q: How do I protect my mailbox plants in winter? Apply a thick 4-inch layer of mulch after the ground freezes to insulate roots. For tender plants, use burlap wraps or frost cloth. Evergreens may need anti-desiccant spray in windy, dry winter climates.
Final Thoughts
Your mailbox Landscaping is the first thing guests and passersby see — make it count. Whether you go bold with a pollinator garden overflowing with color, sleek and modern with gravel and ornamental grasses, or timelessly elegant with boxwood and roses, the right mailbox landscaping frames your home and tells the world that the details matter to you.
Start with one idea that excites you, match it to your climate and sunlight conditions, and build from there. A great mailbox garden doesn’t happen overnight — but it grows more beautiful with every single season.